BtB 2006 - Level 11 - Tears of a Lost Dynasty
Level by TC14 (Thibault Chatelus)
Walkthrough G&D Productions.
Be sure to have the latest (fixed) download (after Jan 3)
Story:
“Lara is in Korea
to search about the lost Korean Dynasty. She falls into a cavern...”
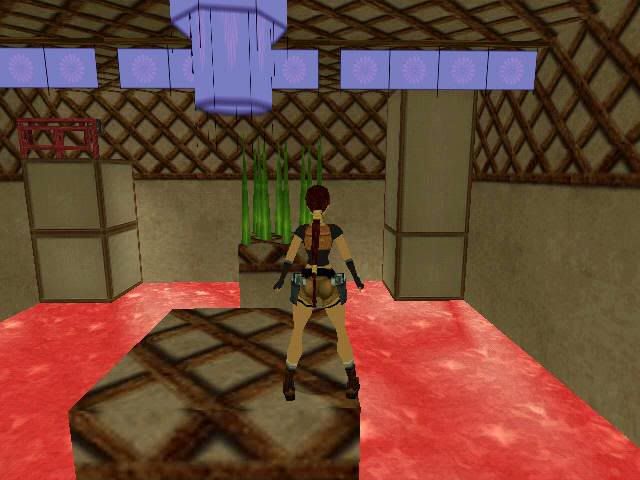
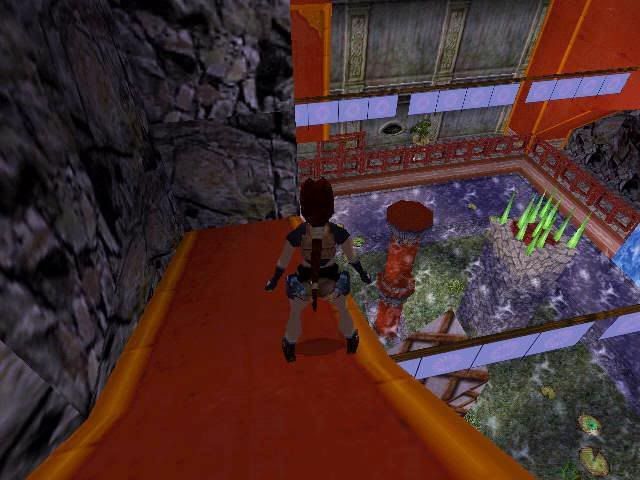
The Temple Courtyard.
Lara drops into a pool with a huge Shark. Turn around and swim up to the R hand side of that tree, climb out there and shoot the Shark from standing back a bit. Dive back in and swim W, to the R behind the building and open the UW door in the building, climb up and jump/grab the ladder, up into an opening and runjump/grab across to the other building, open the door and inside to the R is a receptacle for a Sacred Stone and a closed trapdoor, throw the switch on the wall behind the trapdoor and see an UW gate open up.
The Dynasty Symbol.
Go back to the opening and jump out to get down into the pool. Swim S and up for air at the tree, then Save and dive into the tunnel under the tree, a long and winding tunnel will get you into a cave with the Dynasty Symbol hidden in the grass and a ½ MP in the SW corner, shoot a Shark if and when it shows up in the water and swim back to the pool. Climb out on the R hand side of the tree again and sidejump to the S, slide off and grab the roots, shimmy R along the roots to the grass and climb up.
Raise the block for the Yin-Yang Symbol.
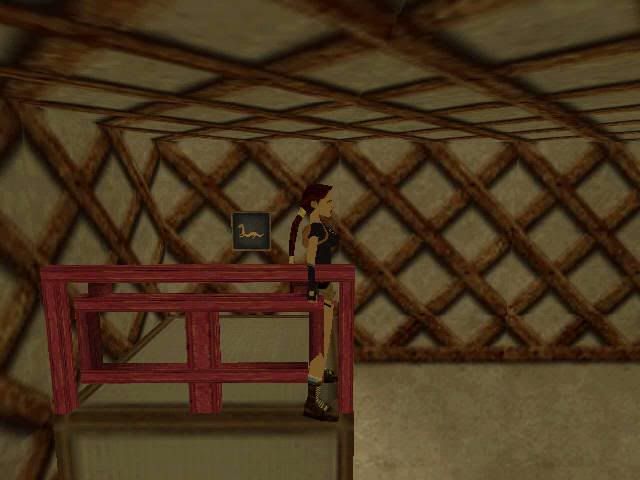
Head SE to the grey rock near the fence and climb up into the crawlspace behind the blue flowers on the S side rock wall. Follow through to a small cave with a lever in a shallow pool (the lever will raise a block near the building as the flyby shows), in the SW corner is a ½ MP for you. Return through the crawlspace and go E, that block you raised is next to the building L and is needed when you have to place the Yin Yang Symbol there later.
The Temple, Spiked Swim.
In the SE corner you’ll find some fenced off steps, go into the passage there and follow to a Temple. Run to the back and be sure to collect both Wraiths and quickly go into the passage E to open the door. Behind it is a small pool to get rid of the Wraiths. In the pool N side is a small tunnel, swim in and mind the Spike-traps (there are save spots between them), turn R or L to swim against the wall after a trap so you won’t swim into the next too soon, in the end is an UW lever. If you got there with half an air supply left, you can save and go back after using the lever, if you are almost out of air, you better try again.
To the Balcony.
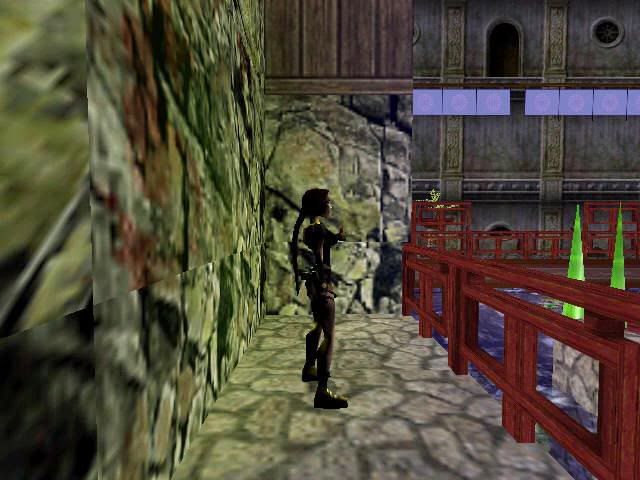
Arriving back in the pool you’ll notice the raised platform in that room, jump/grab the chain, go up and backflip to the platform, hop over the fence and go up to the door W, open it and step out onto the balcony, go back as a Wraith shows up, hop down into the water and get back up after the Wraith is history. Turn R onto the balcony and in the NW corner is a small door, to the L of the door is a ½ MP to be found, then climb up and open the door, go past a white block to the next door, open up that one and go over the balcony to the white tile SE, pull the hardly visible chain and the block in the W passage lowers. Go back and through the new opening to come to the tree tops on the Courtyard.
The 2nd Dynasty Symbol.
Jump to the branches of the closest tree and make your way over to the NW, there a runjump/grab to the grey ledge and climb the Vine on the tree R, go L around over the fence, backflip/roll/grab a ladder behind you and climb up to the roofs. Go over the roofs with runjump/grabs (where the ceiling is high enough) and on the last roof you can shimmy around the L side to the back to get the 2nd Dynasty Symbol.
Head back over the rooftops to the white block N and jump E to the branch, get onto the one between the two trees and grab the monkeyswing above, swing over to the next tree and drop onto the branch, runjump to the one in front of the waterfall E and runjump/grab to the cave behind the waterfall. Follow in to a slope down into the Temple, slide off backwards and grab the roof, shimmy L to the end and backflip/toll with a hard R curve to land on a white ledge, go into the opening S and follow to where you can jump to the roof of another house and on top you’ll find a chain, a cutscene will show a gate to a house opening up. Now you can jump down into the pool and climb out again and head SE, but if you want a secret follow the route below.
Route for the secret: go back to the opening SE you just came from and follow back to the white ledge in the temple, run off to the W and land on the balcony below. Follow the route back through the door w, to the trees and over to the NW corner house, stand on the W side of the roof and look down R of that small waterfall, an opening in the rock wall, standjump with a grab to land inside and get Secret#1, a MP. Safety drop out of the tunnel and go to the SE corner of the Courtyard.
Spikes and a Hammer for the Sacred Stone.
In the SE corner of the Courtyard you can enter the passage up the steps again and go into the NW corner of the temple. Follow to a room with Lava, Spikes and a Hammer. Runjump/grab to the Spike ledge and stand facing the Spikes wait for the moment they go up just before the hammers open up and runjump/grab to the next ledge. The next one is a very tricky jump (screenshot), you have to runjump (start to run when you expect the Spikes to be up when you land) to the Spikes and land as they are just up, then a curved running jump L from the corner of the ledge to grab the block with the button. If you can’t manage, there are saves available at Lara’s Home.
The button will bring up a block in the opposite corner of the room. Stand here (screenshot), against the fence and aim for the most L side of the Spike-ledge, hold “look” and start the runjump when the Spikes are down and do a running jump with a L curve from the Spike-ledge to the button NE. Push the button and get a cutscene of the Sacred Stone. Now you have two more tricky jumps. One standjump back to the Spike-ledge from standing back against the wall on the NW corner of the ledge and a running jump to the safe ledge, then a runjump to the Hammers when they are about to open up and runjump through the Spike-trap.
Go back to the Temple and find the Sacred Stone on the pedestal, when you take it the earth will move. Go back to the Courtyard through the SW passage and get into the pool again after you shot the Shark, swim W and to the R behind the building, through the UW door in the building, climb up and jump/grab the ladder, up into an opening and runjump/grab across to the other building, to the R in the windowsill the Sacred Stone can be used to open that trapdoor in the same room.
To the Yin Yang Symbol.
Drop into the trapdoor and hop down from the block, in the SE corner is a hole, safety drop into the cave with the Balance, still protected by Spikes. Dive into the water, follow the tunnel, past a Croc and into a room with Statues, go on L (closed gate to the R) and come through a room with air above, better just go on as the Croc will catch up soon, in the next room go up R immediately and find the sloped pillar, pull up on that and backflip to the walkway, near a closed gate.
Be sure to Save often in this room and shoot that Croc whenever you get the chance.
Grab up to a crack in the rock W and go all the way around to the wall before you drop. Roll and look NW to spot the chain in the corner of the pool, do a runjump/grab to the chain from the corner of the pillar where you just landed and turn around to backflip to the W landing (if you happen to miss the chain but catch the walkway instead, just pull up through the fence).
Go to the N and from the flowerpot I did a L curved runjump/grab over the fence to the N walkway, pull up through the fence and go stand near that Spike-ledge to standjump to the R hand side of it when the Spikes are about to go up (screenshot) and a L curved running jump with a grab in the end to catch the part of the N walkway on the other side of the pillar. Pull up and get into the tunnel N, shoot a bunch of Bats and climb the E wall up to a ledge R. Follow the next tunnel to the R and step out on the red arch to get the ½ MP. Now go back in and R to the other arch from which you can run off to the E side walkway where a lever will open that gate S.
Spike Jumping.
A Wraith will show up while entering the new room, run back for water and go in again, in the SE corner is a nice set of Spikes you have to conquer. Hop over the fences to the Spike-traps and stand close to the fence (screenshot) with your back to them, listen to the sound of the Spikes and when you expect them to go up, backflip, sidejump L and immediately a standjump forward to the balcony in the corner. Push the button to stop the Spikes on one of the ledges, hop down from the balcony to the ground floor and grab up to that ledge, stand on the corner and facing into the room (screenshot), backflip (the timing here is crucial) and immediately jump/grab up to the bamboo screen and go forwards to get out of the way of the Spikes. Follow the monkeyswing to the end and drop/grab to a wooden pillar, turn around and grab up to the bamboo screen, go over to the NE corner. Follow the tunnel there to the Pool room and NW of the red arch is a block, look SE from that block and if you want the next Secret you have to runjump from the block to the red arch in that SE corner, around that waterfall. Get Secret#2, 2x Ammo and do a banana jump (sharp L curved) back around the waterfall pillar(screenshot).
Hazard Falls.
Go onto the flat block and stand back a bit to standjump/grab the chain, climb up to the room above and backflip off. Jump to the N side of the room and don’t fall in the hole, climb up L of the waterfall N and go up the ledges (about one step from the waterfall) till a Snake-ball comes crashing down, sidejump to the R, jump back and go up again jumping from side to side (if you happen to slide down from the falls, just backflip when you come into the room below and give it another try). On top of the falls another Snake-ball will go down through the middle, jump to the tunnel W and turn around there, grab up to the ladder, go up and follow to a switch opening up that gate in the room with the Statues as the flyby will show.
Go back to the Hazard falls and just slide down from the end to drop into the Pool room, swim through the S tunnel and this time go up for air in the next room. Save there and swim through the statue room through the open gate and open the UW door to the L in the next room (remember you can go back for air any time), swim in and throw the UW lever and a cutscene shows the Spikes go down at the Yin Yang Symbol. First return through the Statue room to get a lung full of air and then swim back S through the Statue room, go to the R before the open gate and follow the tunnel (stay high, nasty Lampion) back to the room with the pedestal. Get the Yin Yang Symbol and now you have to swim back to the room with the Statues.
Swim R through the open gate and pick up a MP from the floor (S) in the room where you opened the UW door E before, now go up S and find a Shark trying to get through another UW door, open it and quickly swim back N to the air pocket. Save and return, dodge the Shark and swim up through the UW door you just opened, back into the pool in the Courtyard. Climb out at the tree, shoot the Shark if you like and go to the SE corner, close to the steps there is a low red block against the building, from the block jump to the white pillar you raised before and place the Yin Yang Symbol. Drop from the W side of the block and go to the pool side of this building, a ladder appeared there and now you can climb up to the gate you opened before by pulling the chain on the roof.
Go through the opening and run off sharp R around the corner to land on a sloped block, in the other corner is a lever which will open a gate in a tunnel in the rocks W.
Backflip onto the sloped block, jump to the pillar and to the next, runjump/grab to the opening and go down the ladder, head SW and go R around the building there, through the waterfall to find an opening in the rock wall L. Get in and follow to a plant on the floor there’s a crawlspace up L, get through and in the end of that short passage is a ladder if you turn around, climb up along the L side and to 4 steps from the top, then go R two steps from the L wall and backflip immediately jump hard R from the sloped ledge and curve just past the ladder to land on the floor.
The 3rd Dynasty Symbol.
Climb up E an shoot a Croc, Hammers start banging away and on the E wall is a switch to open the gate there, but don’t go there yet, first runjump/grab over the fence W to the chain in the Hammer-pit, turn around and hang with Lara’s head just sticking out over the Hammers, backflip when they are opening up and land on a ledge with a switch, the switch shows things happening outside in the Courtyard, a platform rises. Jump/grab back to the chain and climb all the way up. backflip off and go N and L to drop down the hole, just follow down to where you slide back to the ladder you came up from before. Climb up E again and now go into the E gate you opened before, runjump to the platform on the building and go inside, jump to a ledge across the high room and safety drop to the floor, get the 3rd Dynasty Symbol. Climb up the W wall and off L to the ledge, runjump/grab back to the entrance and from the platform outside you can just run off straight W to land back near that tunnel in the W wall.
The Torch and the 4th Dynasty Symbol.
Go back in there and follow to the end, a Wraith will show up and the best way to get rid of it is back to the pool in the Courtyard. Return into that W tunnel and follow to the small Courtyard. In the w wall is a tunnel behind the vegetation, follow the crooked tunnel to a Statue room. Hop over the fence in the middle of the room and open the trapdoor (spot it with a flare) from facing N, go down and just around the next corner is the Torch, follow the rest of the passage hopping onto the blocks and at one point a runjump back to a higher level and finally come to a slope back into the Statue room. Light the Torch E and light two wall torches and the Campfire S in this room, get back down in the trapdoor with the Torch and light 3 wall torches there, the gate at the wall torch in the lower tunnel will now be open and inside you can get the 4th Dynasty Symbol.
The Way Out.
Take the Torch back to the Statue room and go out SE, back to the small Courtyard, light the Campfire there (opens a gate on the roof), leave the Torch and go into the NE corner next to the house. From the rock you can climb up to the roof (only use “Ctrl”) and throw the lever on top to open the door below. Go to the NW corner of the roof to find the gate opened by lighting the Campfire and go in to get Secret#3, a MP. Now get back down from the roof and into the house, place the 4 Dynasty Symbols to get the Spikes at the button N down and hop/grab back into the opening in the floor, safety drop down and go down the end slope…
09-01-2006.