Search for the Amulet
Level by Blacksheep.
Walkthrough by Dutchy.
This level contains some expert jumping
and timed runs, I hope you’re up to that...
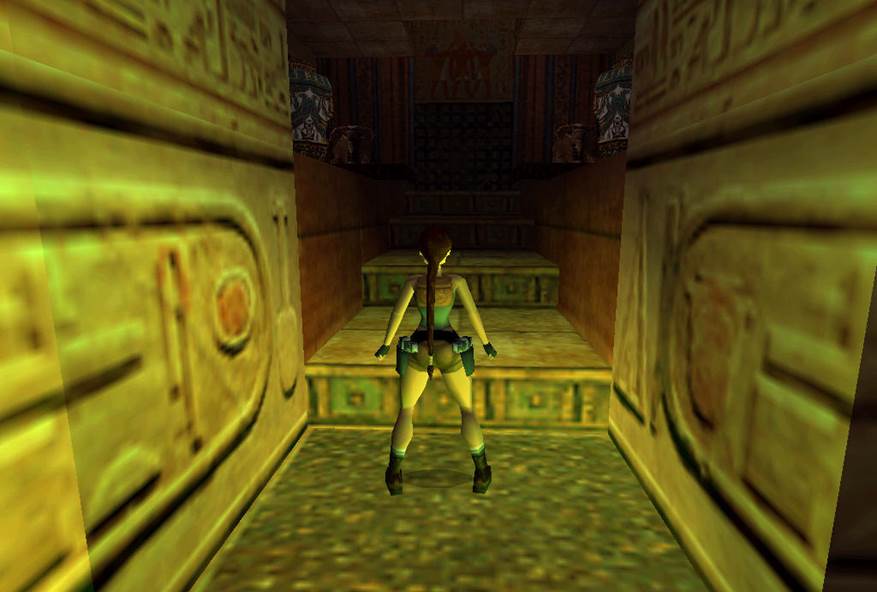
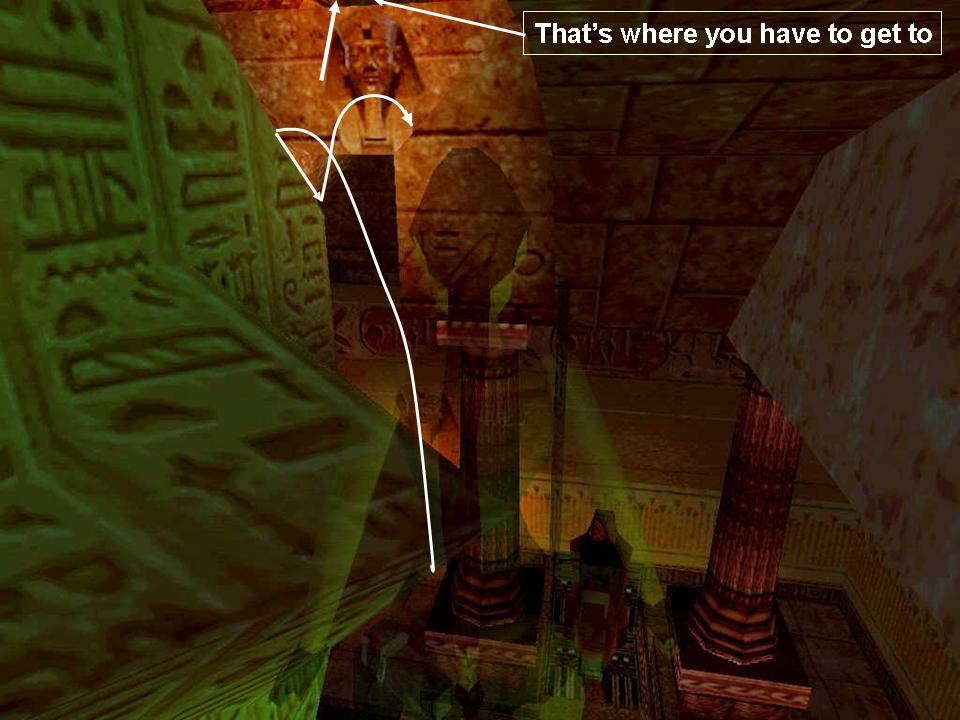
Lara falls onto a slope, keep the F5 key pressed
while the level starts, so you can save at the start. Immediately jump hard
left onto a lower slope and jump again with a grab to get into the opening in
front. Here you will find Secret #1, Grenades.
But also a lever that will deactivate Spikes below.
Hop back and do a safety drop down to the floor and get a Medipack
and some Flares, Scorpions will come for you, shoot them
or just grab the edge of the floor at the E side, shimmy to where you see the Uzi
Ammo below and drop to get it.
Go around the S side of the structure and jump the
slopes to get inside, jump across to the pedestal E and grab the Hand of
Orion.
Jump back to the lower W side and drop down, go in E and place the Hand just around the corner.
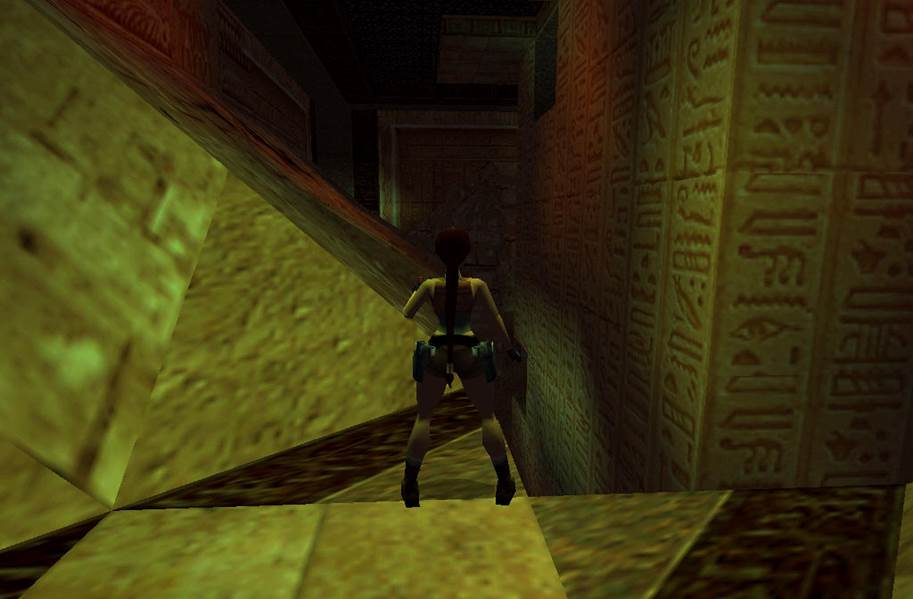
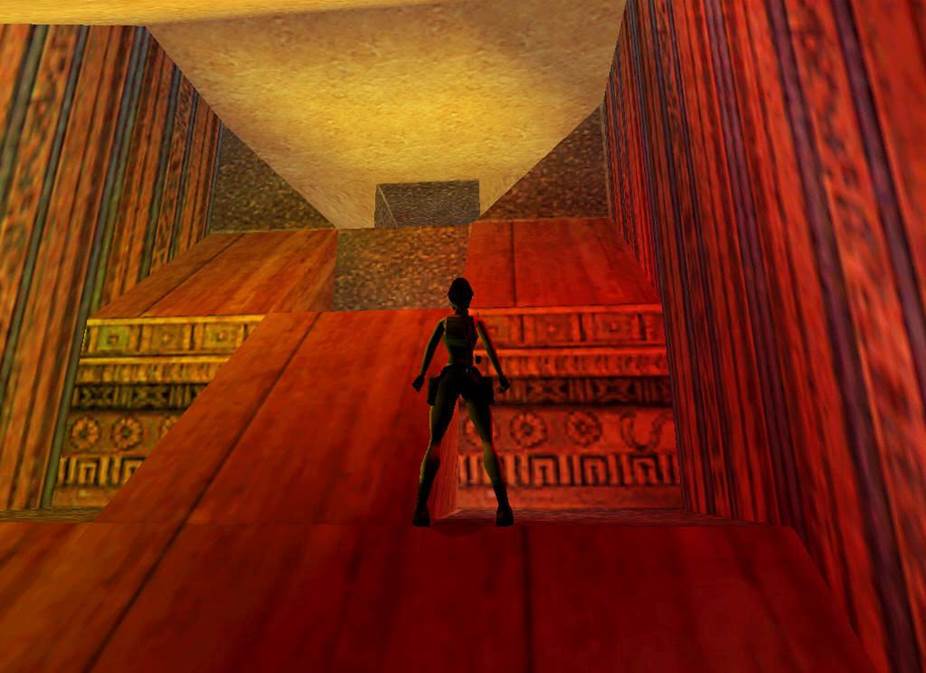
Cartouche Room.
Enter the big doors and go right to get the Flares
there, head W and find the receptacle for a cartouche up on the central pillar.
Enter the passage W and go to a pit with spikes (you have to
get in there). Jump over the pit into the passage N and stand here,…
… hop back when you expect the spikes to be just down when you land in
the pit, immediately hit forward and duck to get into the crawlspace. Use the
lever there to open a gate and go back up, the spikes are down now.
Turn around and climb up. There is Shotgun Ammo
under the left hand vase in the next room. Go into the
gate and follow through.
Leaps of Faith, Cartouche Piece 1.
In the deep room with the deadly floor
you can see Flares hanging in the air under some flames... Over the Flares you
can see a slanted pillar, that gives a clue, there are invisible slanted
pillars and ledges. Standjump to the spot under the right hand pillar and slide/jump to the next, another
slide/jump to land on a ledge where the flames are now gone. Jump over to get
the Flares and turn W, stand jump straight W and backflip back to the
Flares ledge (flames at the cartouche part W are gone). Now jump back to the
ledge S and from there face W, back up standing to the right as far as
possible. Standjump onto the slanted pillar, slide
and jump hard right to land on the ledge where you can pick up Cartouche
Piece 1. Jumping on the last slanted pillar also opened the exit S. Jump in
there (with grab) and go up the ladder, from the top a backflip into a passage
behind you. Walk up to the next challenge.
Leaps of Faith, Top Floor.
Runjump out with a right curve to land on the corner of the
nearest block and stop, don’t go too close to the flames...
Face N and take a step back from the N corner, turn
ever so slightly right a bit and standjump onto the
slanted side of the next block, slide and jump to get onto the block with the
lion statue. Runjump E and curve hard left to get
onto the block with the small medipack. Now
stand here …

… and runjump
with a hard right curve in the end to get to the block at the exit S, standjump with a grab to get in there. Follow through and
come to a pit with spikes comimg out of the walls,
down below is the pit with the crawlspace. Now you have to
time the spikes to runjump without grab the
other side and immediately take a step forward.
Now you are on the first floor of the Cartouche
Room, SW are Flares and SE a crawlspace you have to
get to. There also is a Mummy you could avoid by hanging from the floor and
shimmy along. Follow the crawlspace and find a lever, it will open a door in
the Cartouche Room, crawl back and safety drop down near the crawlspace. Follow
into the opened door and follow through to a room with cages. The SW vase has Shotgun
Ammo, in the N side thrench is some more.
Levers and Boulders, Cartouche Piece 2.
There are 3 levers in this room, opening
up 3 gates in the cage, stand at the levers, save and use them, either
do a backflip to get out of harms way (or if you are
fast enough a slight turn and hop back to grab the ledge).
Now go into the cage and wade into the water, save
before you step onto the higher floor of the passage ahead. As soon as you step
on, a flyby will start and that Mummy will set fire to the track on the floor,
it will come to the oily pool you have to cross. Run to the back, jumping over
the spike pit and grab Cartouche Piece 2, roll and runjump
back over the pit, start sprint and do a roll (Alt) when you are close to safe
ground. Never mind the Shotgun Ammo you might have seen. Climb the cage and go
up the pole, backflip into the passage and follow to jump out to a ledge with
the Shotgun. Drop down and go left, back to the Cartouche Room. Combine
the 2 Pieces and place them in the receptacle. Go through the opened doors N
and slide down, a flyby starts of a pit with a couple of Hands
on different levels.
Jump the Pit for the Hand of Sirius.
Walk into the E corner as far as possible, standing
at the edge of the pit and hop back, runjump with a right hand curve onto the flatter (somewhat higher) ledge E,
walk up to the highest point and runjump to the E
with a right hand curve so you end up on the top slope E which is flat enough
to stand. Hop down E and throw the lever in that corner to see spikes retract
at the Hand. Sidejump back onto that higher ledge you
came from (or runjump up there and jump back to the W
side.
Walk into the N corner along the pit and turn
slightly right, hop back so you’ll end up like this…
Do a runjump with a left curve to land just
past a higher part of the slopes, sliding off backwards. Grab the edge and
drop/grab to the crack below. Shimmy to the right and drop in a passage. Turn E
and jump over to the ledge with the Uzis. Face NE and hop onto that
slanted pillar, jump to grab the next and hang on the right
hand side. Pull up over and jump hard left, grab the edge upon sliding
off. Hang right and backflip to land on the corner of a ledge with a lever,
throw it and see a gate open up on a lower level. Face
SE and jump/grab the crack in the wall, shimmy right to a crawlspace. Get in
and follow to a ladder, jump and grab the ladder and
go up to the top of it. Then go 6 steps down and backflip, grab the edge and
pull up to backflip and land in the alcove.
Runjump out to the NE and grab the edge of the pit just past the
higher part, shimmy left and pull up at the corner. Go get the Hand of
Sirius.
The Hand of Orion.
Walk W and facing W you can see a somewhat higher
part in the bottom slopes, you’ll have to runjump
over the higher part and land on the low part opposite that opening in the
structure, best is a runjump aiming left a bit and
curving right around the higher part of the slope. Jump over to that alcove in
the structure, turn around and runjump to grab that
block you can see N(W). Run off the block facing NW and slide back, grab the
edge and shimmy left to get the Medipack from
that corner. Jump back E to the flat ledge in front of the alcove and get up to
the block N again.
Grab up to that grated monkeyclimb
and follow W and left around the corner to drop and grab the entrance of the
structure. Look right around the corner and spot the ladder on the broken
pillar, jump around the corner and grab it (little
shortcut, go down till she hangs on her hands and then just go left around the
corner till you will drop onto the ledge with the lever). Get her feet up and
go left around the pillar, against the left wall and low as you can go with the
feet up. Backflip, slide and jump with roll to the next block, slide and jump
to the one in the corner. Now hold Ctrl and you should grab the ledge with the
lever, shimmy to the corner and use the lever to deactivate spikes. Jump over
to the block NE and grab the Hand of Orion there. Shoot the scorpions
below and go out, left and up the blocks to a ledge where you can use the hands
to open the gate (there were more passages on the ground floor, but I didn’t
find use for them).
The 1st Eye Piece.
Go into the room and grab the 1st Eye Piece,
an underwater gate opens up. Go follow the passage S,
pick up some Flares and dive into the water. Follow through, dodging flames and
spikes and climb out at the next challenge.
Boulder Run.
E is a lever, first go W jumping the blocks and get
the Grenades near the gate (believe me, you won’t have time for that later).
Jump back and save in front of the lever. When you throw the lever a flyby
starts, showing you the route over the blocks and the gate opening
up. If you don’t want to get that flyby every time, throw the lever and
save. You might think this is a timed run, well it is not... But once jumping
the blocks you have to be fast as Boulders will drop
onto the blocks. The last block, where the Grenades were is a save one and
you’ll have to stop there before jumping to the open gate, because a boulder
will also drop between the gate and the block. Stand here …
… and standjump onto the first block in a way
so you can immediately do a running jump with a curve to the next block, keep
doing running jumps and curve sharp left to get to the last block in front of
the open gate.
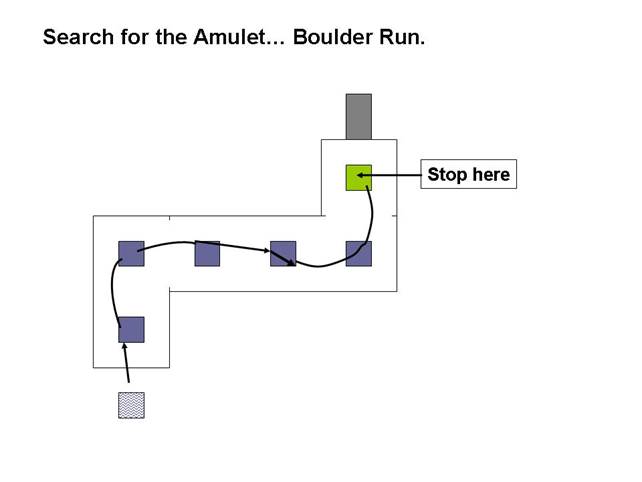
Stop right there and hop into the opening after the boulder has fallen.
Boulder Slope.
When you come to the next corner another boulder
awaits you. Of course there will be more ways to tackle this one, but I did it
like this;
Face S and stand against the right
hand wall, hop backwards and grab the end of the slope. Wait for the
boulder to go by and pull up, backflip with roll and hard left curve to land in
the opening left.
Statue Push, the Grenade gun.
In the next room are 2 statues, they have to go into the alcoves S, but a nasty Mummy is lurking
around. First we go for a nice attribute, take the NE
statue and move it around the culumn to the NE
corner, next to that oil lamp on the ledge, the lamp will burn and shows the Grenade
gun posing as Secret #2 (You can lure
the Mummy to the other side of the room, run back and move the statue). Now
first get rid of that Mummy and move the statues into the alcoves S.
Statue Push, the 2nd Eye Piece.
After placing the 2 statues, you can climb a pillar
NW where the flames are now gone. Line up for a runjump
E, just around that overhang and grab the corner of the pillar there. Turn
around and jump to grab the top of the overhang. Jump to a legde
in the E or W side, makes no difference and now you have to
jump onto the slanted high block in the middle of the room, slide a bit and
jump to one of the sloped blocks.
Grab the edge of the block when you slide off and go against the S wall,
pull up, backflip and jump back with a sharp curve to get onto the ledge S.
Climb up to the 2nd Eye Piece. Grab up in the opening W and follow the
passage, shoot the mummy or run past it and climb the
blocks in the next room to the top one.
Face W and grab up to the ladder, you’ll see a small
opening behind you, just go up to the top floor and find a lot of burners. The
burners have to be stopped, in that small hole you saw
when you climbed up is a vase you have to shoot. Stand against the W wall, in
the middle of the ledge and face E to the opening, I used Uzis as that worked
best. Save and run down into the opening shooting the Uzis, if the vase broke
the burners will be off, if not go back to that save and try again. When the
burners are off you can climb back up. Climb one of the blocks E and turn to
jump and grab the ladder in the opening above.
Go down to the Horus door and open it after
combining the 2 Pieces of the Eye. Shoot the Ninja left and climb up SE,
go right around the corner and climb the blocks to jump to the one SW. Go in
left and shoot a Ninja for some Uzi Ammo he will leave behind.
Slide down, follow that passage to the end, picking up some Flares and
shooting a Scorpion (optional). Climb the block in the end, jump up left and
jump to the ledge NE, face W and hop back to grab the
edge, shimmy right and pull up. Jump up W and grab the climbable wall S, go up
as high as possible and left or right. Drop and jump to grab the opposite
slope, shimmy to the other side of the slope (so next to the brownish one) and
pull up, backflip and slide before you jump with a hard curve to get onto the
flat block (on the E block is a small medipack).
Now top up the health and standjump from corner to
corner up the spike ledges.
Outside, the Pit and another Hand of Orion.
Now slide down the slope and end up outside, follow
through SW shooting the Ninjas, picking up what they leave behind, such
as Uzi Ammo, Shotgun Ammo and more Uzi
Ammo. You’ll reach a deep pit... Stand here…
… and do a runjump with Ctrl to land on that
triangular ledge you see below. Then turn for a run SE with a right hand curve, ending up on the block in front of the
opening S. Don’t run off, but jump into the passage S, the Ninja there
will leave behind another Hand of Orion.
When approaching the big doors S, they will open up showing a bunch of Ninjas, you could launch a
Grenade in there, nice effect... After placing the Hand in the receptacle E,
the gate will open up and a flyby shows a flooded
room.
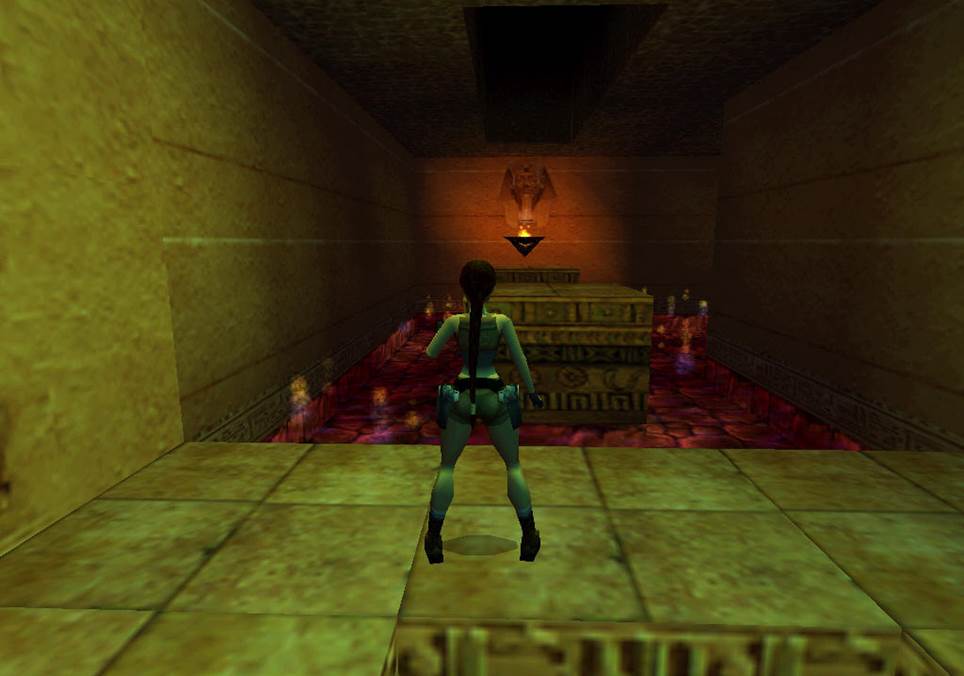
The Amulet of Horus.
You could also end the level here by climbing the
hill W and hopping over the ridge S, but we’re after the Amulet
aren’t we? So into the open gate it is, drop down and
crawl backwards into the opening, drop down and follow to the now partially
flooded room with the slanted blocks. Hop down and swim into one of the
openings W, down the hole and follow through to climb out in the room wit the Amulet. Go to the middle of the E wall and face S
to climb the brown block so you’ll end up in the water passage above, swim
ahead to the hole up in the ceiling SE, follow through to a room with a lever,
the gates at the Amulet will lift. Swim back through the same tunnel and go
around the green tunnels to the opposite NW corner and up in the hole there.
Drop through the hole in the floor SW and go get the Amulet of Horus.
Jump straight up after picking it up and climb out
into a small area, go through the door S and jump into
the steep tunnel S to make your escape.
End of the “short?” level.