Arabic
Monastery
Level and Walkthrough by Kc Laan
January 2013. Lara Croft is on a short
vacation in Arabia. She has to pass some
time before she sails out on the Endurance to Japan. Until then, she is looking
for some excitement and adventure in the area.
Then she spots a building in the
distance. She slides down a steep path to a gate. Is this the monastery they
told me about? They are very religious and they do not like strangers.
She has to get out of here, or she
will miss her trip! So;
Help Lara in finding all the
crucifixes to unlock the door back to her freedom again!
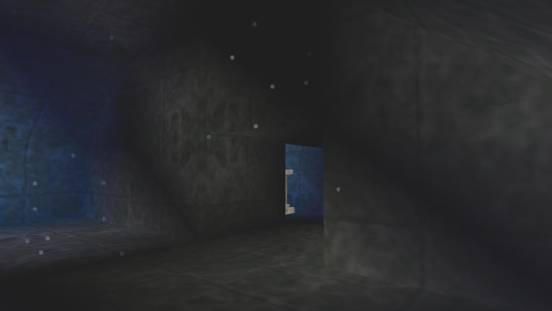
Enter the Monastery
Walk
forward. The left entrance door will open and you can go in. On the right wall
is a jump switch to open the door on the other side. Notice the keyhole on the
left. That should open the door to go
back to the real world. You must find that key and return to here.
Go
through the door.
A
cut scene shows a running Monk entering the monastery before closing the
entrance door.
Go
down the path to the doors. Notice that the path you came is too steep to go
back…
Pull
the bell and wait for the Monk to open the door. (It is the guide
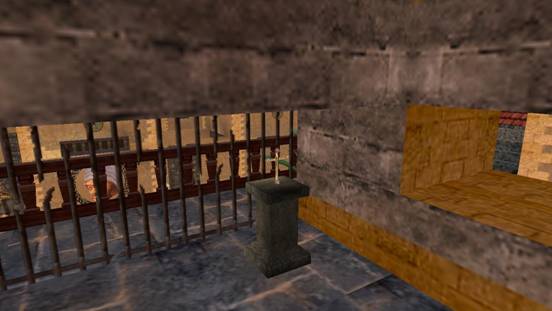
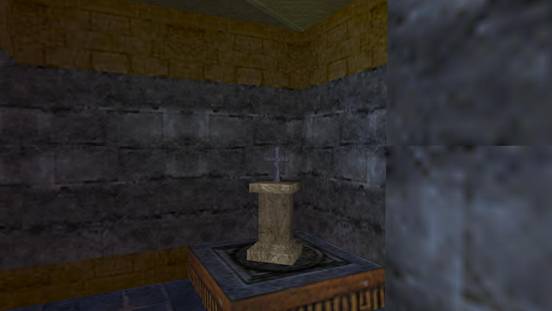
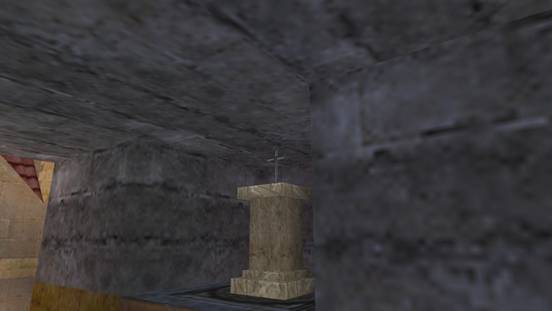
J) Follow him through the entrance and
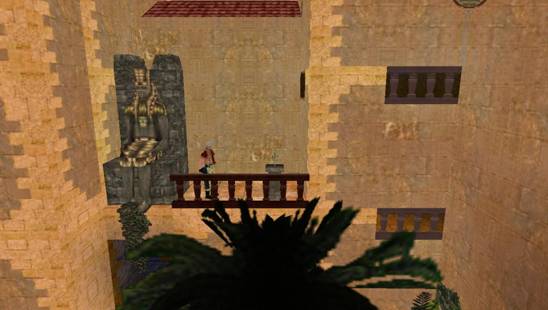
take the stairs to the 1st floor. Take the key from the pedestal and
continue until you reach the balustrade above the entrance. Look at both sides
and notice the balcony with pedestals with a medipack and a Golden Cross (Secret 1/21).
(Use
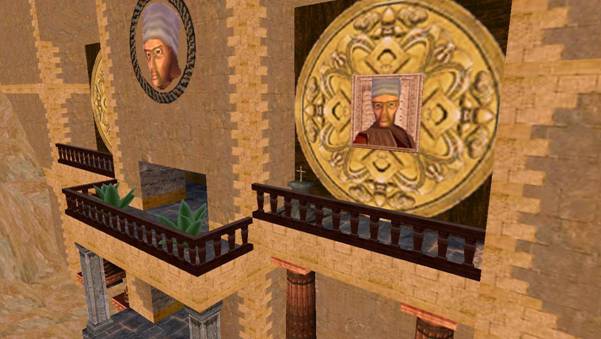
a side-flip to grab them.) Go down the stairs and out into the ‘kitchen
garden’. The cut-scene shows the complete inside garden. On the first floor you
notice a balustrade with a pedestal and the car key! A few Monks are working
(so far as they are capable of J). Keep in close range of
the Monk in the garden with the missing balustrade; he is after all your only
guide…
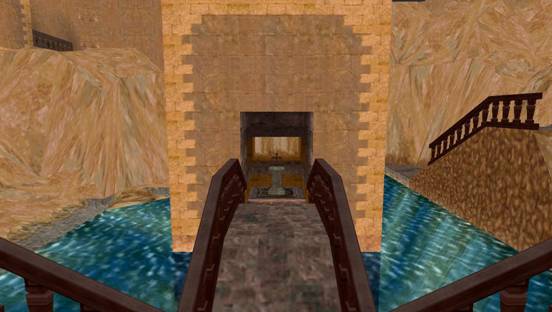
Put
the key in the keyhole to open the doors of the simple church.
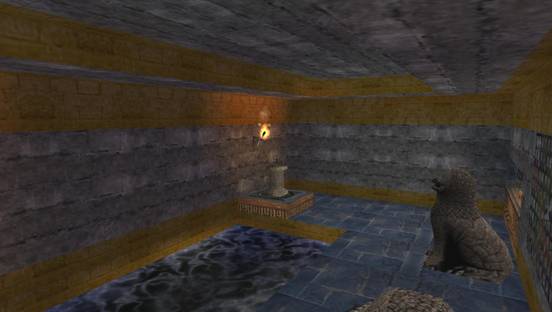
The church
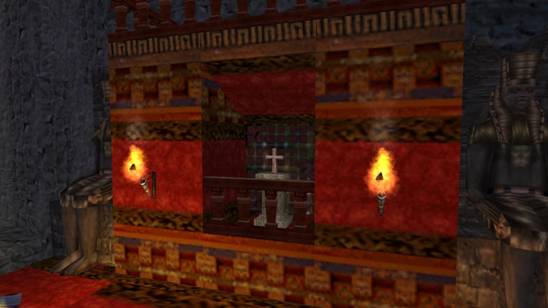
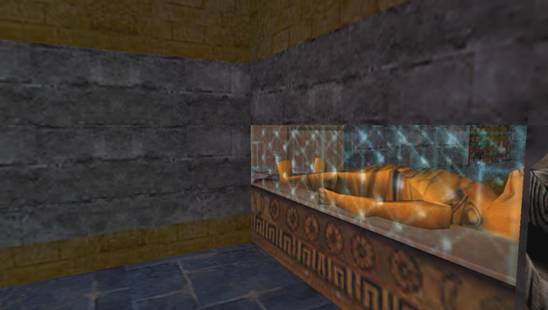
Follow
the guide Monk and watch him light the candles. Climb on the altar and see how
his flare ruins the glass before the alcove. Jump in (watch your head!) and
take the Bronze Cross (Secret 2/21).
The
cut-scene shows a switch on an upper ledge. Go back to the entrance and the
Monk will open the door to a cabinet. Go in, turn around, jump and climb up.
Pull
the jump-switch and another door opens.
In
the meantime, the Monks have entered the church for practicing their hymns.
While jumping from chandelier to chandelier they practice their
singing.
After
pulling the switch, a door behind the pedestal where you found the cross,
opens.
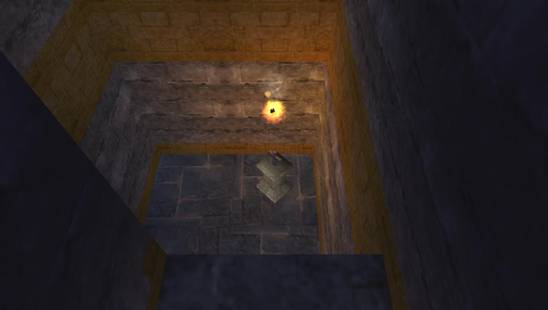
Go
down and carefully lower yourself into the opening you just found. You may
enter the crypt but there is nothing to find accept some beetles…
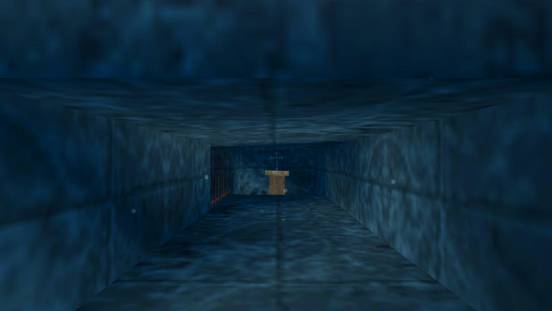
The Cellar
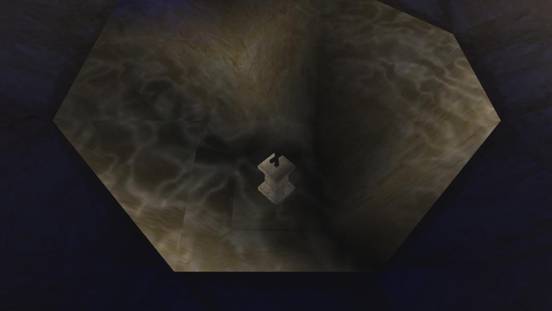
Jump
into the water and find the underwater entrance. Climb out and jump up to the 1st
floor. A cut-scene shows you what to do to open two doors.
Pull
the crate backwards to the middle of the bridge. Shimmy to the other side and
push it against the wall. Jump over the hole in the floor and pull it outside
to the middle of the bridge. Shimmy to the other side of the crate and push it
in position. A door on the 2nd floor opens.
Get
back to the second crate and pull it until you can’t go any further. Turn right
around and directly go right onto the bridge. Turn around and see the crack in
the left wall. (In front of you, you see the hole in the floor.) Jump and grab
the crack and shimmy to the left around the corner. Now move the crate to the
middle of the bridge. Shimmy to the other side of the crate and push it to the
switch plate. A second door opens.
Turn
around and return to the bridge where you pushed the first crate. Turn around.
See the crack in the right wall. Jump to it and shimmy around the corner to
reach the 2nd floor. Turn right and walk half over the bridge and
jump on the left ledge. Follow it to the next tower. There you can shimmy to
the entrance to collect the first key part: Ying.
Go
back to the bridge the same way you came. Now do a long jump to the right
ledge. Follow it until you can jump to the plateau and collect the second part Yang.
Before
going down, go out, look up and climb up to the 3rd floor to collect
the Golden Cross (secret 3/21).
Swan
dive into the water.
On
the ground floor, go opposite the still closed door,
combine Yin with Yang and use the key to open it.
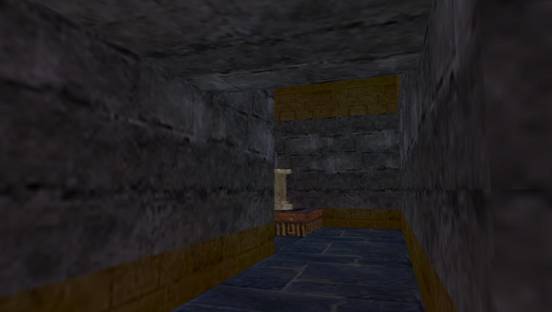
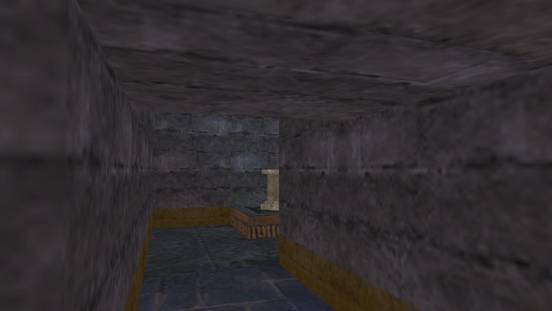
The Catacomb labyrinth
Enter
the labyrinth and follow the path around a left corner straight into a chamber
with a big vase. Climb into the niche and pick up the Silver Cross (Treasure 4/21).
Follow
the path to the chamber with the flare. Look right.
If you need an extra medi-pack, go straight on and pick it up. Otherwise
go right, up the stairs and right again. Jump (or shimmy) to
the room where you see some light.
Go
down and pull the lever. A cut-scene shows you the way to the next room. Now
climb up the centre pillar. Go right and jump (shimmy) to the next chamber.
Pick
up the Bronze Cross (secret 5/21).
Follow
the route the cut-scene showed you. (Shimmy quickly over the spikes!)
Enter
the tomb and pick up the Bronze Cross
(secret 6/21) and another Ying-key.

Go
to the small doorway up the stairs but do not step onto the middle pressure
plate! Go right into the corridor and, in the middle, turn right and jump up
and enter that corridor to find a Golden
Cross (secret 7/21).
Return
the way you came but go down just before the spikes.
Go
right and follow the route to the next chamber. Kill the guard if you like. Go
left through the door and follow the way up to the next tower room.
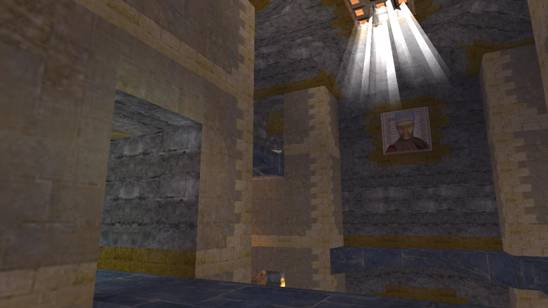
The Garden
You
can’t go out at this moment. Climb up to the upper floor of the tower. Pull the
lever switch to open the door below to the garden. Go out and up the stairs to
the next tower. Look over your left shoulder to see the entrance to the upper
floor.
Go
up and pull the lever. A cut scene shows the opening of the doors to the
garden. Go down and take the stairs down to the platform in front of the water.
Don’t shoot any bullet yet. Jump over and follow the path through the monastery
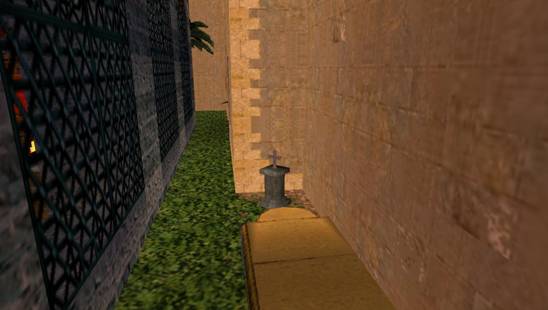
to the end of the small path alongside the water. The Monk will lead you. Go
right to the graveyard and walk straight forward to the end, go right. Just
after the opened door you will find a Bronze
Cross (secret 8/21).
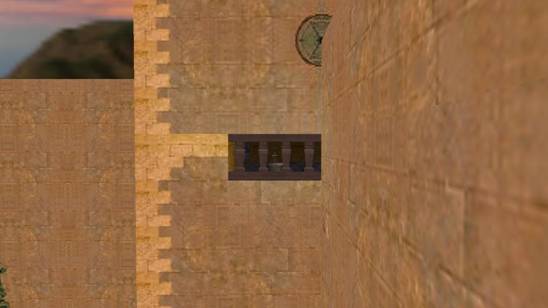
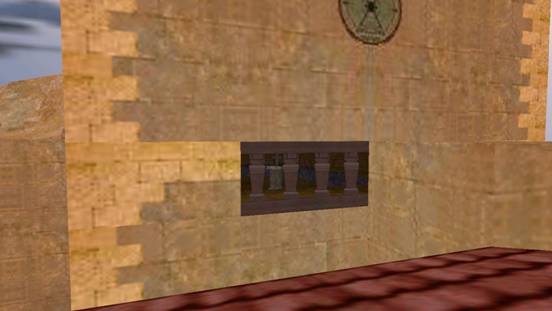
Go
back to the courtyard where you met the armed Monk for the first time. There
you find a window without balustrades. Enter the room and go up. Go out via the
window and shimmy to the next tower. Go out opposite you came from, go down and
take the Silver Cross (secret 9/21).
Go
up into the next tower, then down and take the 1st Door Amulet
piece. Go back via the armed Monk (if he is still alive) up and then left to
arrive on the platform with the switch. Pull it and see the trapdoor open.
Make
a swan dive and swim to the left. Under the plateau with the stairs to the
bridge, you will find a Golden Cross (Secret 10/21).
Take
some breath and swim to the waterfall. When you come out of under the bridge go
straight to the right and climb out of the water. Enter the right most tower
and to the top floor to collect a Silver Cross (Secret 11/21).
Go
back and jump into the waterfall and follow your way to the second part of the
catacombs. Take the Yang piece and the Silver Cross (secret 12/21).
Return
to the bridge. Now follow the path down where you haven’t been yet.
Enter
and go over to the YinYang keyhole, combine the pieces and insert it.
Kill the Monks who attack you. Enter the portal and go to the right, climb up
and pull the lever switch. This will open the door below. Go down and collect
the 2nd Door Amulet piece. Return outside and go to the
right. Enter the corner tower, go to the top floor and collect the Bronze
Cross (Secret 13/21).
Go
out and keep right, combine the 2 Door Amulet parts and put it in the keyhole.
Go to the end of the passage to meet another Guide Monk who will lead you
through the monastery.
The Monastery
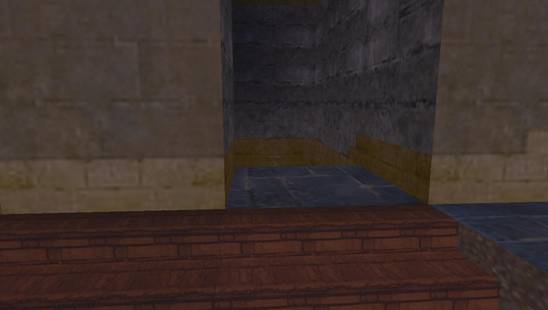
Let
the Monk open the door for you. Enter and go strait forward until you reach a
movable block. Pull it backwards. Turn around and go first right and jump on
the small island with the plants in the middle of the water room. Jump and grab
the stairs on the right. Pull up trough the balustrade and go left. When you
see the next block, do a ‘side-roll’ (Ctrl-left|right) to land on the
balustrade behind the block. Pull the block backwards. Turn around and walk
straight on to the end, then go right to collect a Silver Cross (secret 14/21).
Return
the same way, go down at the stairs to the bottom
floor. Go right and collect a Bronze
Cross (secret 15/21).
Go
back to the stairs you just passed, perform a backwards flip to land in the
water. Find the under water entrance to the Silver Cross (secret 16/21).
Go
out and follow the route lighted by the flares until you reach the Guide Monk
again. Follow him until you reach the next block. Pull it back. Turn around and
go straightforward until you reach the Golden
Cross (secret 17/21).
Return,
keeping right to find a Bronze Cross
(secret 18/21).
Return;
go straightforward until you reach another block. Move it out of the way.
Now
turn around, go left and do a long jump to the left. Take the medic pack
and the Silver Cross (secret 19/21).
Exit
with a long jump and go back to the Guide Monk. He will open the door.
Go
outside, save first, and jump down on the balustrade. Take the car keys
and jump down in one of the gardens. Go to the jeep and start your engines…
The Jeep ride
Drive
outside to the right and follow the path to the small lake. Collect the Bronze Cross (secret 20/21) in the
tower.
Follow
the path alongside the monastery. Leave the jeep when you reach the hanging
bridge to collect a Bronze Cross
(secret 21/21) in a pool in a small cave.
Take
the jeep and go up the steep road to the entrance of the monastery. Leave the
jeep and cross the bridge…
Key to Heaven
If
you have found 8 Bronze Crosses (or more), you
can put them onto the pedestals to open the door to the next room.
Otherwise
you have to give away one cross and place it on the pedestal in the alcove.
This will open a passage where you will have a vision of the location of all
the Bronze Crosses. Go and collect the all!
After
opening the door, go down. If you have found 6 Silver
Crosses (or more), you can put them onto the pedestals to open the door to
the next room.
Otherwise
you have to give away one cross and place it on the pedestal in an alcove. This
will open a passage where you will have a vision of the location of all the
Silver Crosses. Go and collect the all!
After
opening the door, go down. If you have found 4 Golden
Crosses (or more), you can put them onto the pedestals to open the door to
get the Exit key.
Otherwise
you have to give away one cross and place it on the pedestal in the alcove.
This will open a passage where you will have a vision of the location of all
the Golden Crosses. Go and collect the all!
And now…
Take
the Exit key and the jeep and drive back to the entrance.
Put
the key in the hole and drive uphill to start your new adventure on March 5…
Happy
Raiding.
|
January
2013 |
|